|
This is unreleased documentation for SUSE® Virtualization v1.9 (Dev). |
CSI Driver LVM
|
The harvester-csi-driver-lvm add-on is generally available (GA) starting with SUSE Virtualization v1.9.1. Volumes created with pre-GA versions are incompatible with the GA driver and are not supported. The add-on is classified as experimental in SUSE Virtualization v1.9.0. For information about feature maturity, see Feature Labels. This add-on is not included in the SUSE Virtualization ISO, but you can download the manifest ( |
SUSE Virtualization allows you to use local storage on the host to create persistent volumes for your workloads with better performance and latency. This functionality is made possible by LVM, which provides logical volume management facilities on Linux.
The harvester-csi-driver-lvm add-on is a CSI driver that supports local path provisioning through LVM.
Supported Configuration
The driver provisions node-local LVM volumes. The volumes and the workloads that use them must be on the same node.
-
Use the
ReadWriteOnceaccess mode. Multi-nodeReadWriteMany(RWX) access is not supported. Pre-GA versions accepted RWX volumes, but those volumes did not provide true multi-node RWX semantics. -
Use the
dm-thinvolume type. This is the only volume type included in the GA support scope. -
Virtual machine live migration is not supported for VMs that use LVM volumes.
The striped volume type is deprecated and outside the GA support scope. Striped volumes do not provide the storage-efficient snapshot, clone, and restore behavior required by the supported CSI workflow. These operations require full data copies, which increase capacity and I/O requirements and can cause longer operations, retries, and timeouts.
Upgrading from a Pre-GA Release
|
Before upgrading the add-on to the GA version provided in Harvester v1.9.1 or later, back up all critical data and delete every LVM volume created with a pre-GA driver release. Pre-GA volumes are incompatible with the GA driver and cannot be recovered after upgrading. |
Installing and enabling the add-on
If you are using the SUSE Virtualization kubeconfig file, you can install the add-on by performing the following steps:
-
Run the following command:
kubectl apply -f https://raw.githubusercontent.com/harvester/harvester/v1.9/addons/standalone/harvester-csi-driver-lvm/addon.yaml -
On the SUSE Virtualization UI, go to Advanced → Add-ons.
-
Select harvester-csi-driver-lvm, and then select ⋮ → Enable.
Creating a volume group for LVM
A volume group combines physical volumes to create a single storage structure that can be divided into logical volumes.
|
SUSE Virtualization currently does not allow you to modify the volume group composition (add or remove disks) after you create a logical volume. This issue will be addressed in a future release. |
When the driver provisions the first dm-thin volume in a volume group, it automatically creates <volume-group>-thinpool if that pool does not already exist. The driver applies the following creation policy:
-
Data capacity: 90% of currently free volume group extents for thin-pool data
-
Chunk size: 512 KiB
-
Active metadata: 16 GiB
-
Metadata repair spare: An enabled LVM repair spare approximately equal in size to the active metadata (~16 GiB)
The driver reserves approximately 32 GiB of total volume group capacity for active metadata and the repair spare. The repair spare provides redundancy for recovery operations and does not increase live metadata capacity. Ensure the volume group has sufficient free capacity to satisfy the data pool, active metadata, and repair spare allocations. Thin-pool creation fails if available space is insufficient.
The 16 GiB metadata allocation reduces the risk of metadata exhaustion but does not eliminate it.
|
If |
-
Verify that the harvester-csi-driver-lvm add-on is installed.
-
On the SUSE Virtualization UI, go to the Hosts screen.
-
Select the target host, and then select ⋮ → Edit Config.
-
On the Storage tab, add disks for the volume group.
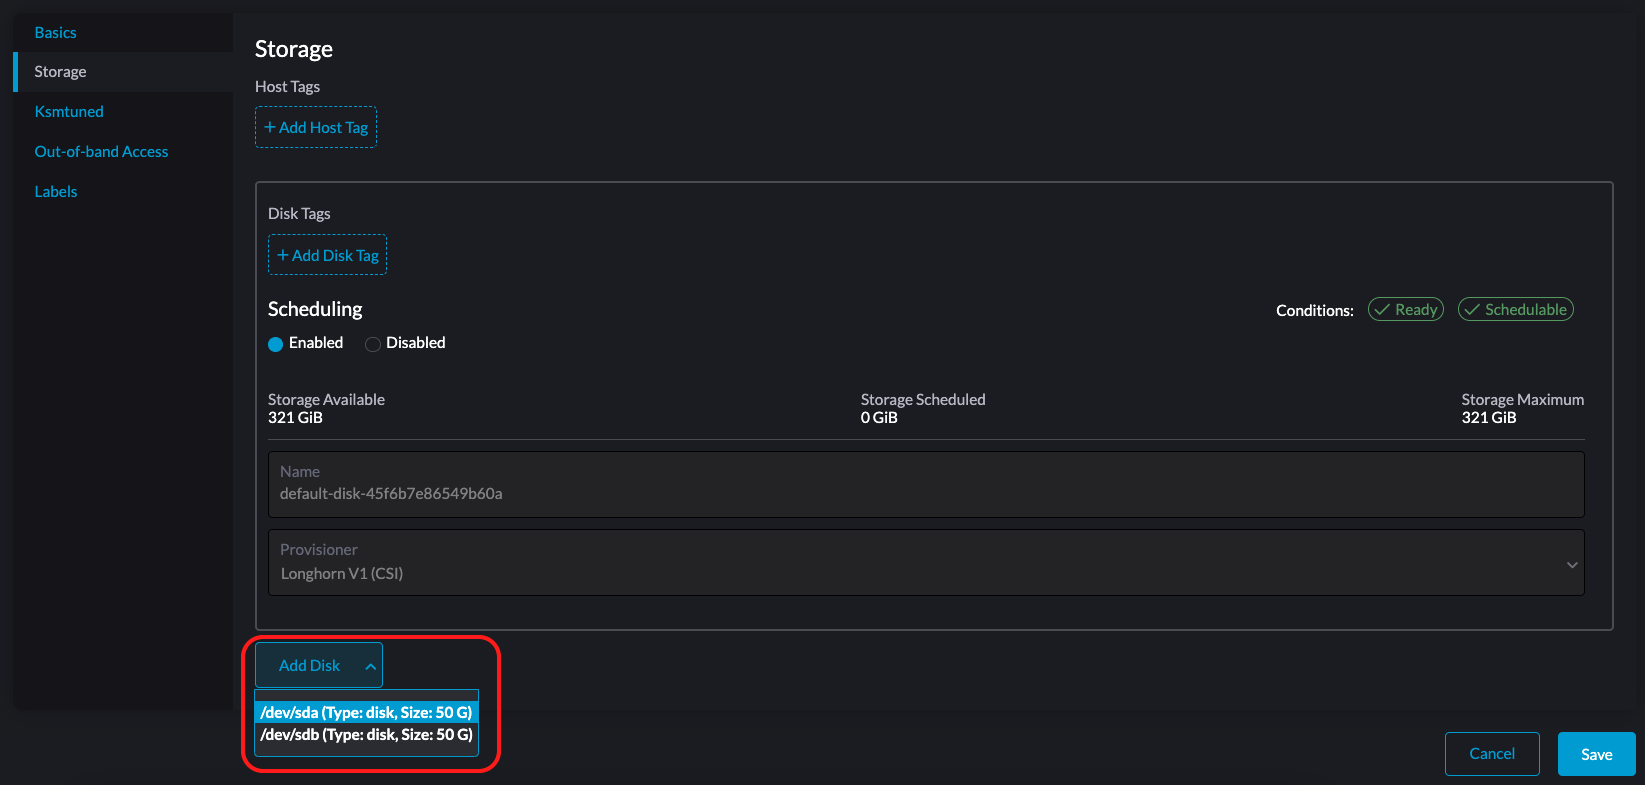
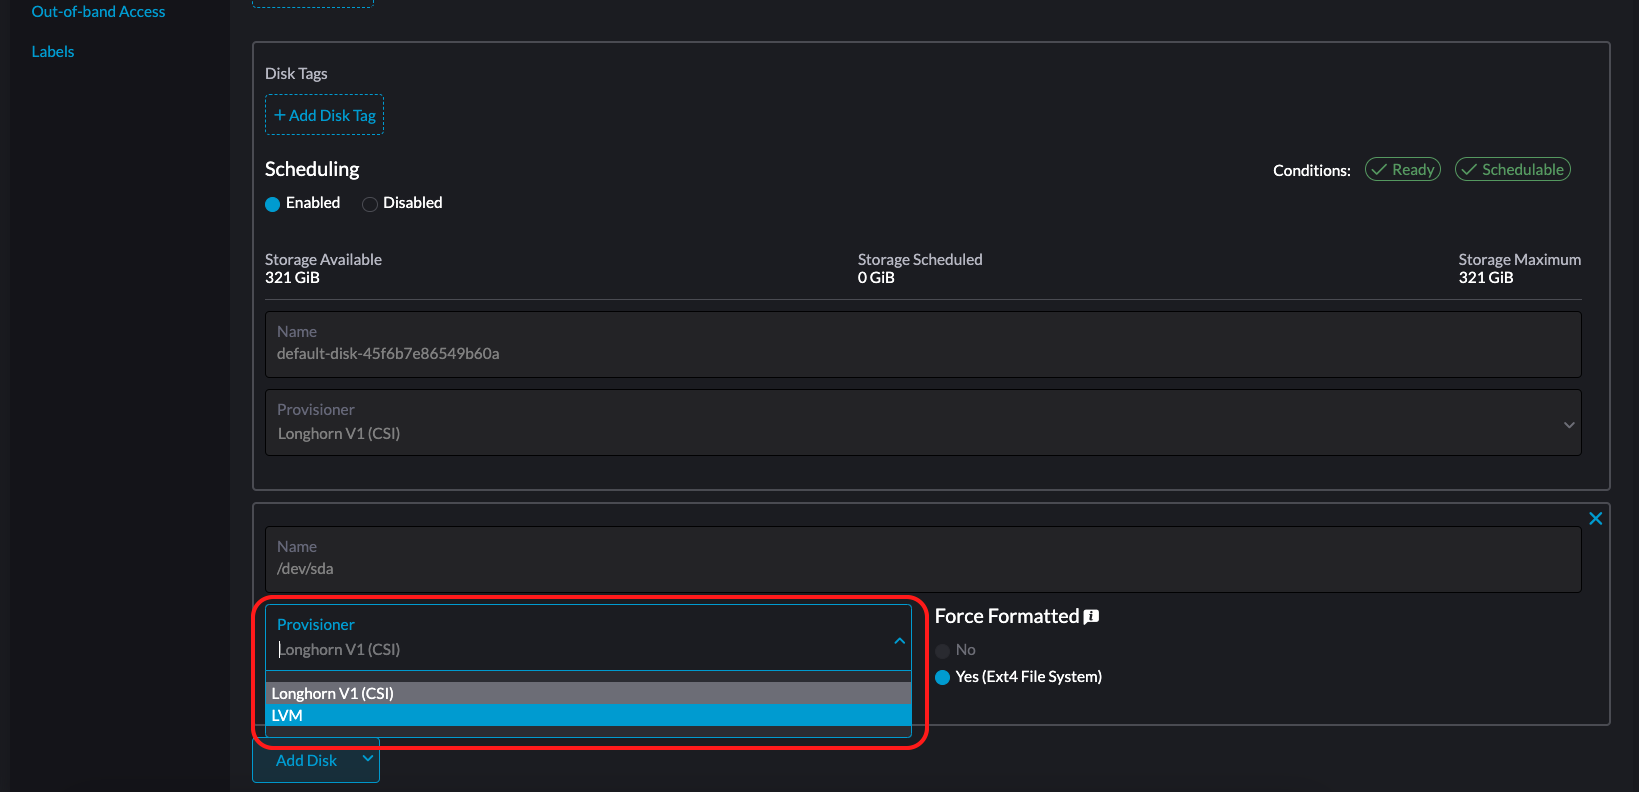
Configure the following settings for each selected disk:
-
Provisioner: Select LVM.
-
Volume Group: Select an existing volume group or specify a name for a new volume group.
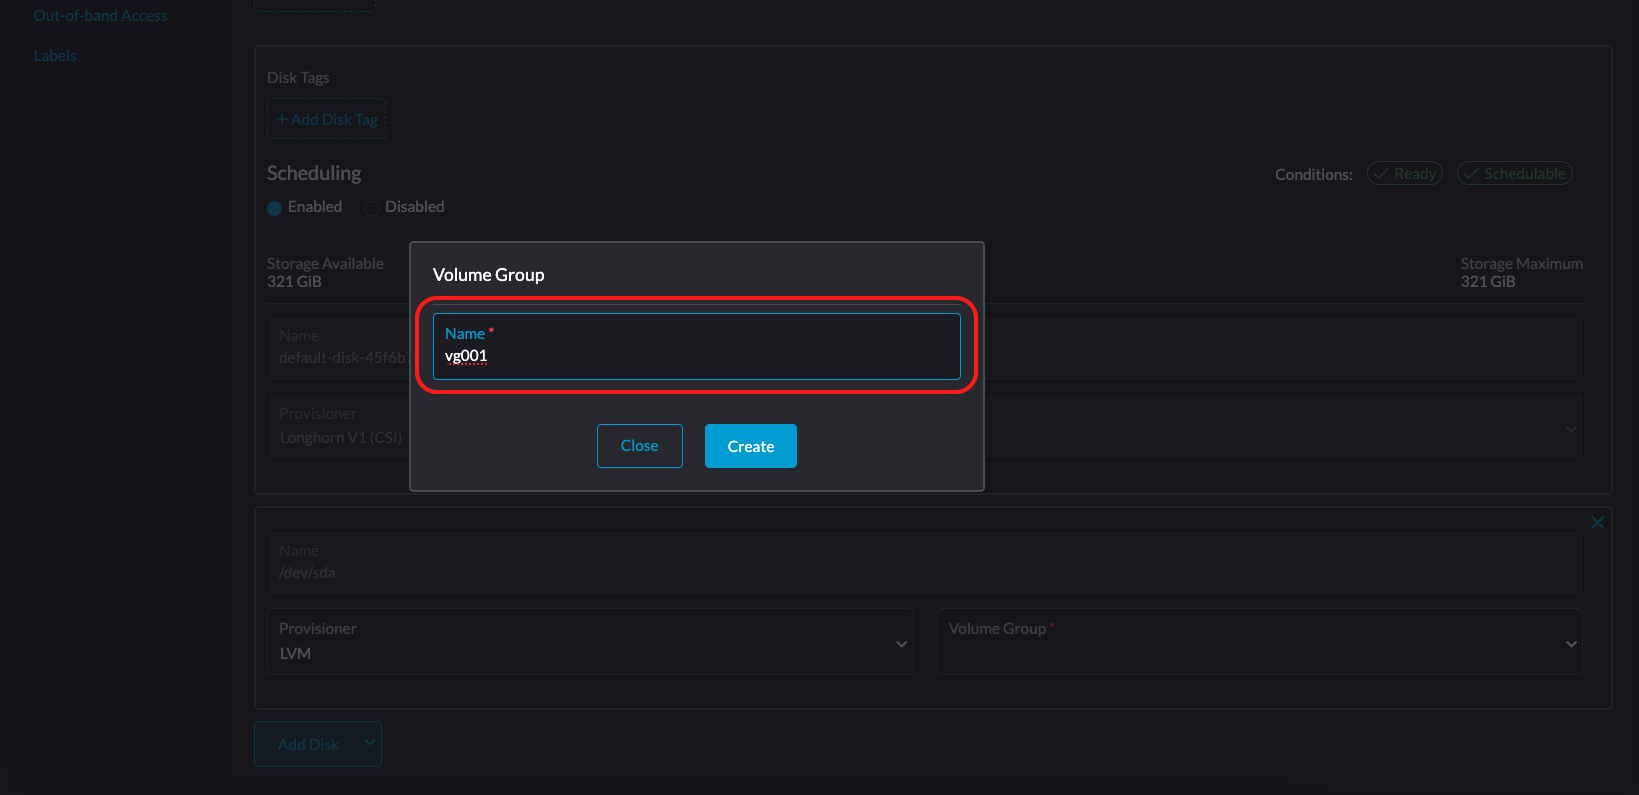
For more information about adding disks, see Multi-Disk Management.
-
-
Click Save.
-
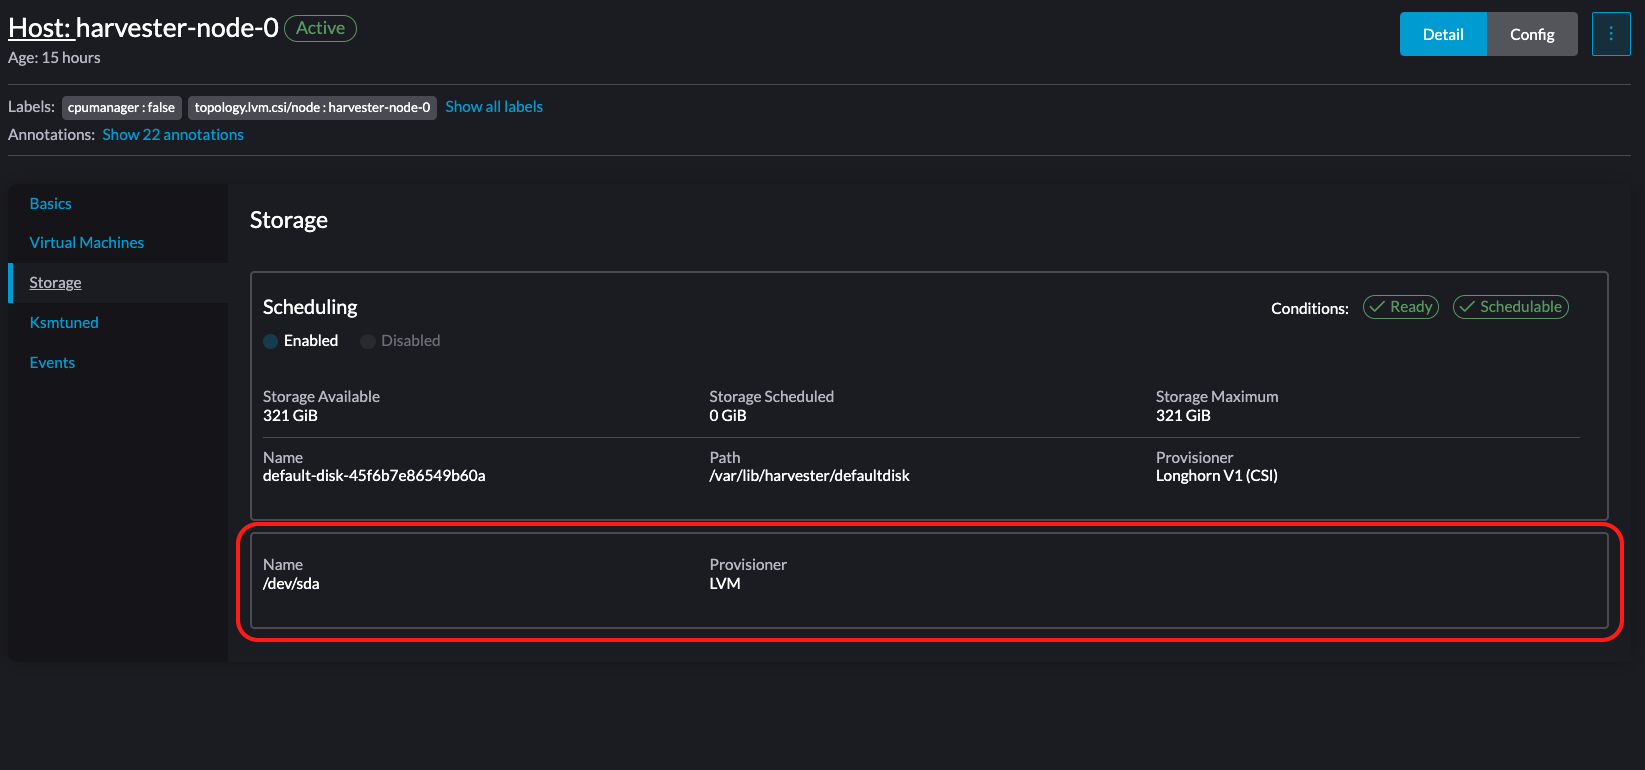
On the host details screen, verify that the disks were added and the correct provisioner was set.
Creating a StorageClass for LVM
|
Use only the |
-
On the SUSE Virtualization UI, go to the Storage screen.
-
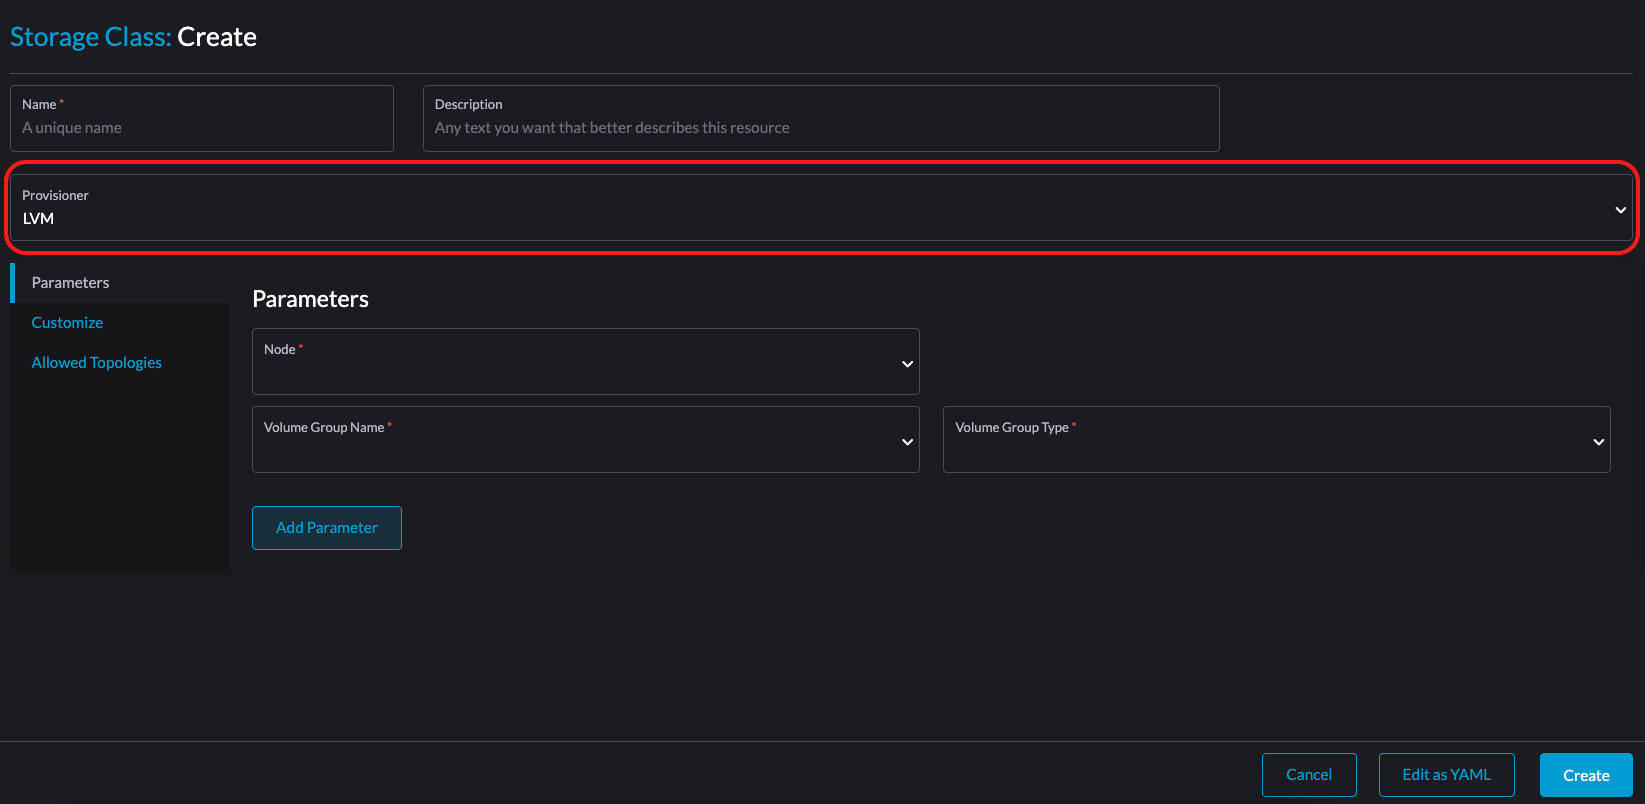
Create a new StorageClass and select LVM in the Provisioner list.
-
On the Parameters tab, configure the following settings:
-
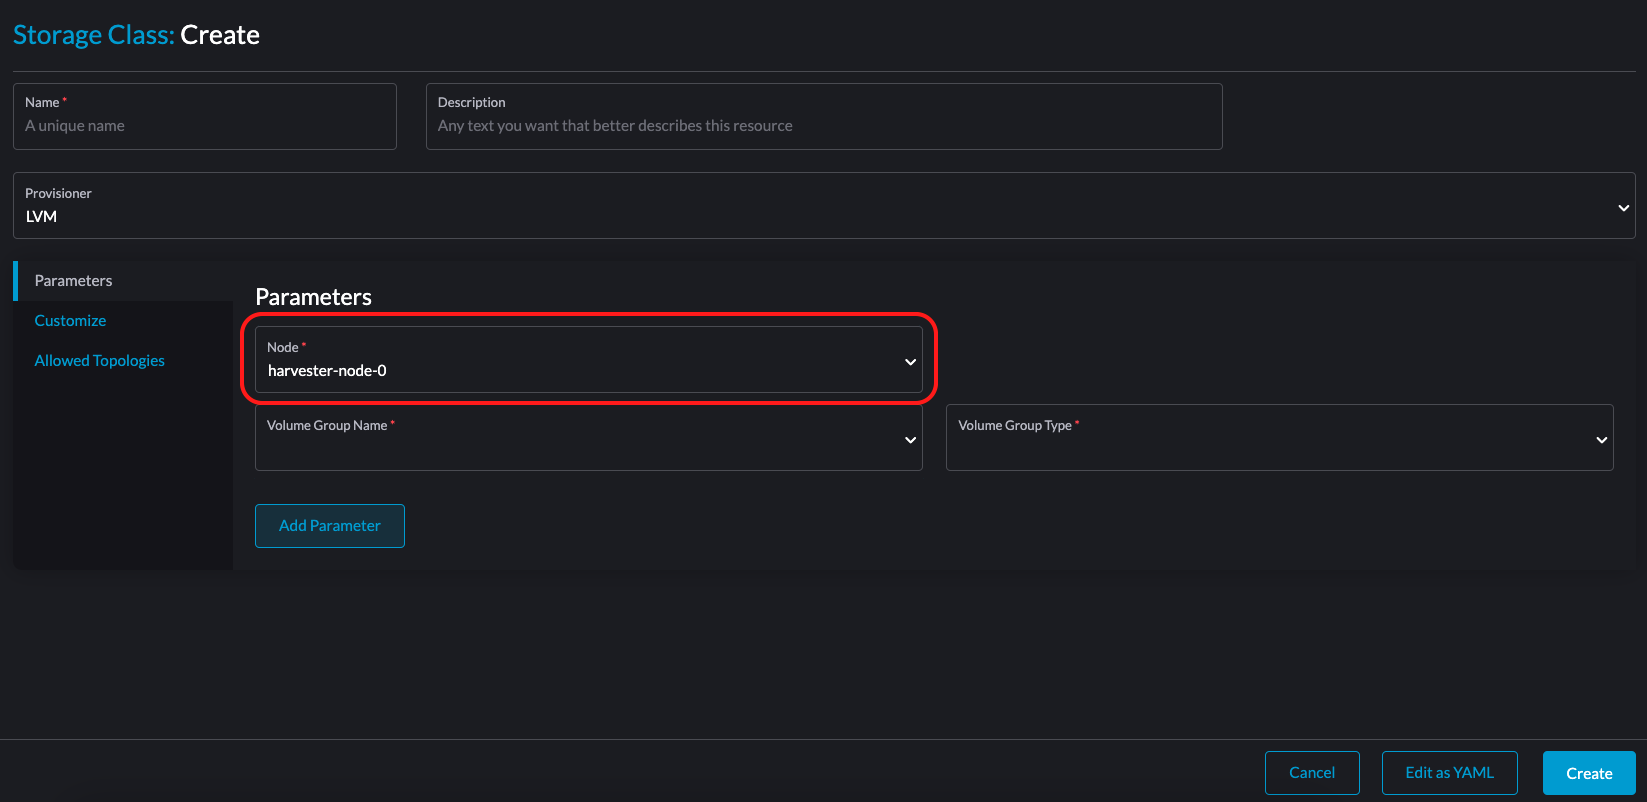
Node: Select the target node for the intended workloads.
-
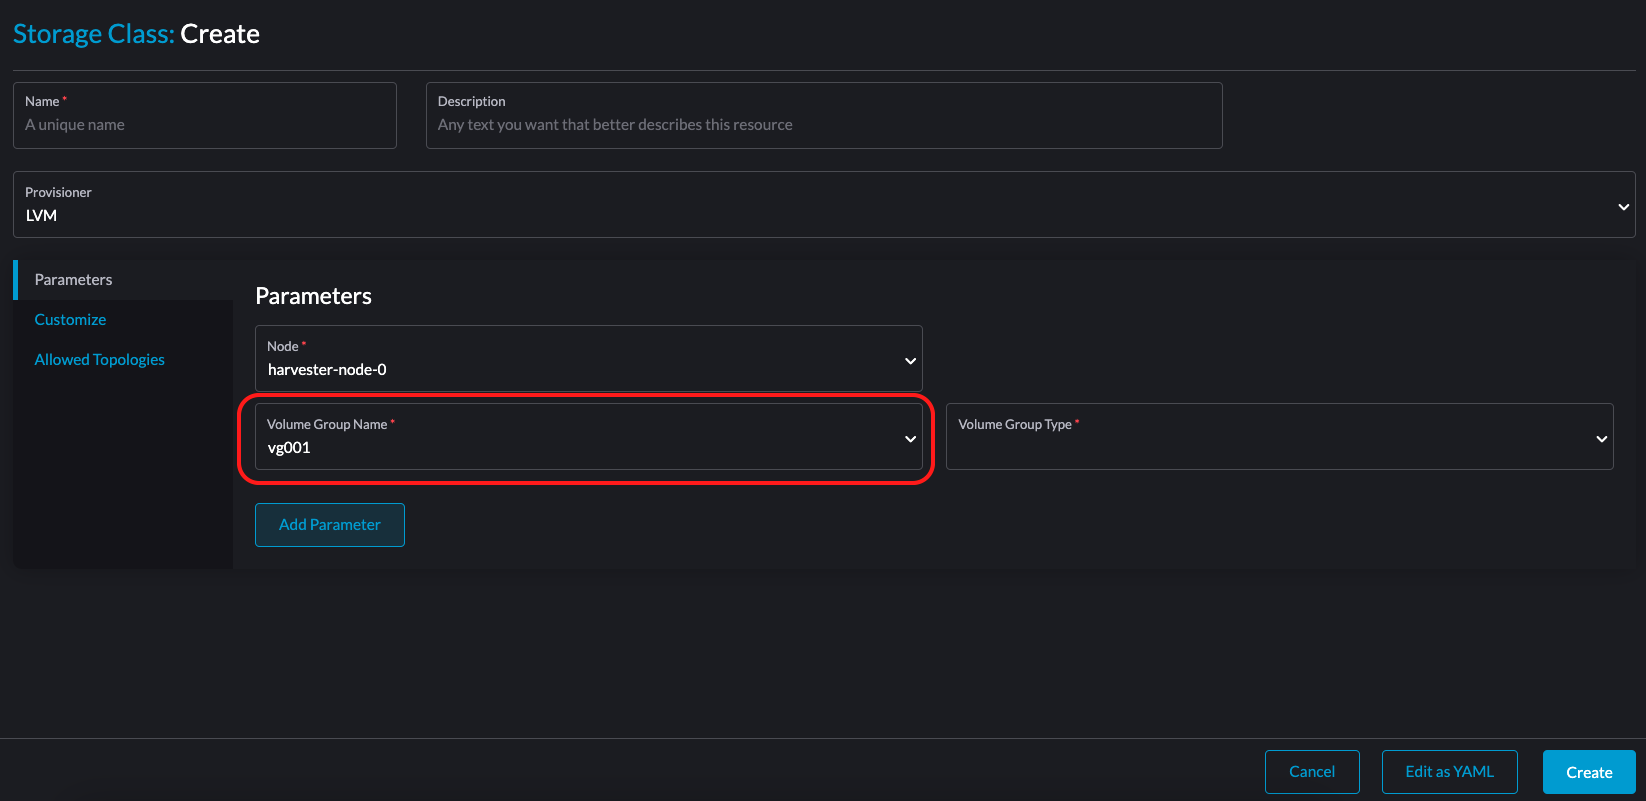
Volume Group Name: Select the volume group that you created.
-
Volume Group Type: Select dm-thin.
-
Volume Mode / Access Modes: On the CDI Settings tab, verify that the volume mode is Block and the access mode is ReadWriteOnce. For more information, see Containerized Data Importer (CDI) Settings.
-
-
Click Save.
-
On the Storage screen, verify that the StorageClass was created and the correct provisioner was set.
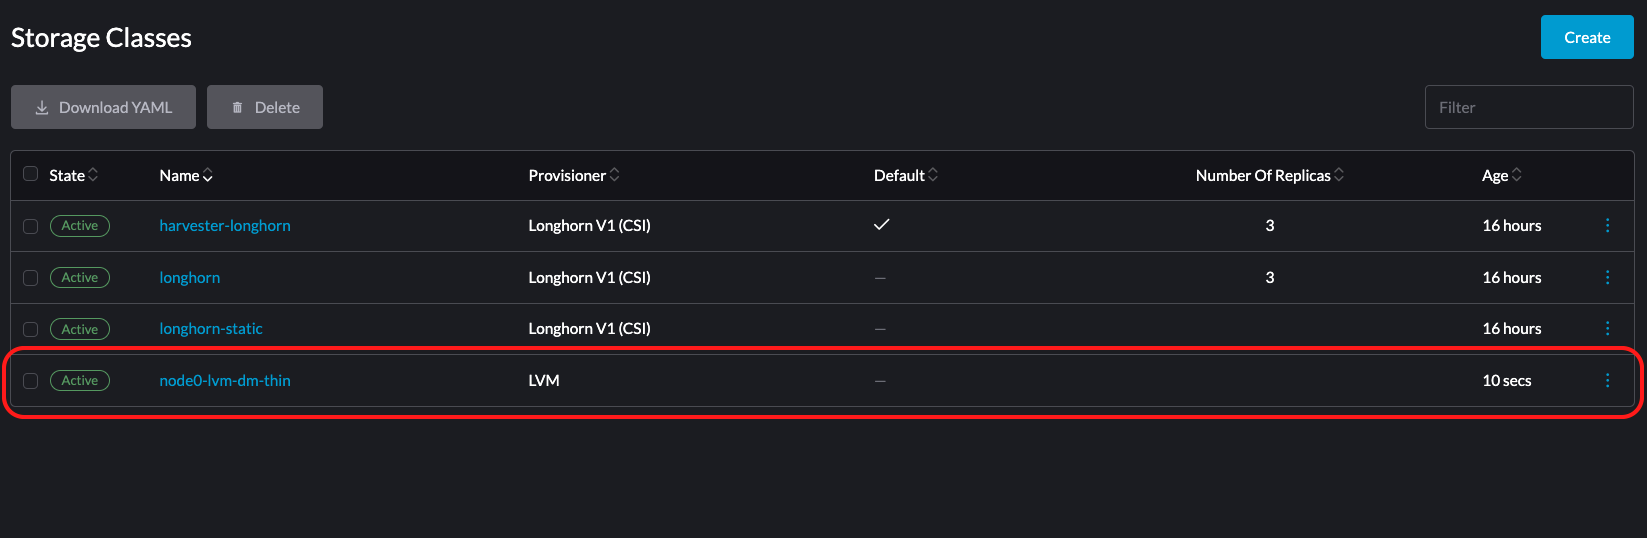
For more information, see StorageClass.
Creating a volume with LVM
-
On the SUSE Virtualization UI, go to the Volumes screen.
-
Create a new volume using the
dm-thinLVM StorageClass that you created.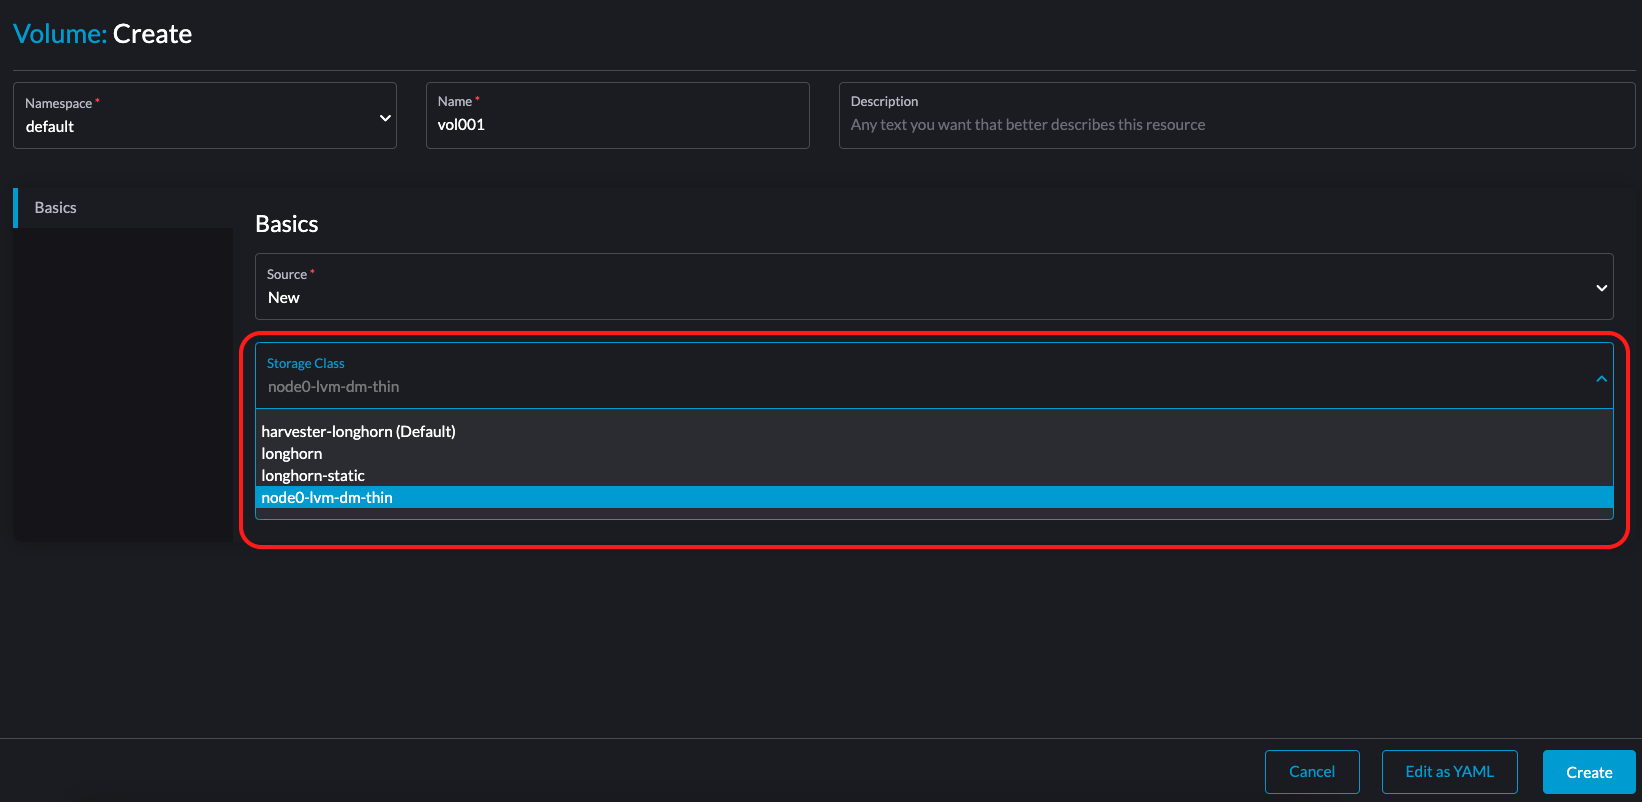
The status Not Ready is normal because SUSE Virtualization creates the LVM volume only when the first workload is created.
-
On the Virtual Machines screen, select the target virtual machine, and then select ⋮ → Add Volume.
Because the LVM volume is a local volume, you must ensure that the target node of the LVM StorageClass is the node on which the virtual machine is scheduled.
-
Specify the volume that you want to attach.
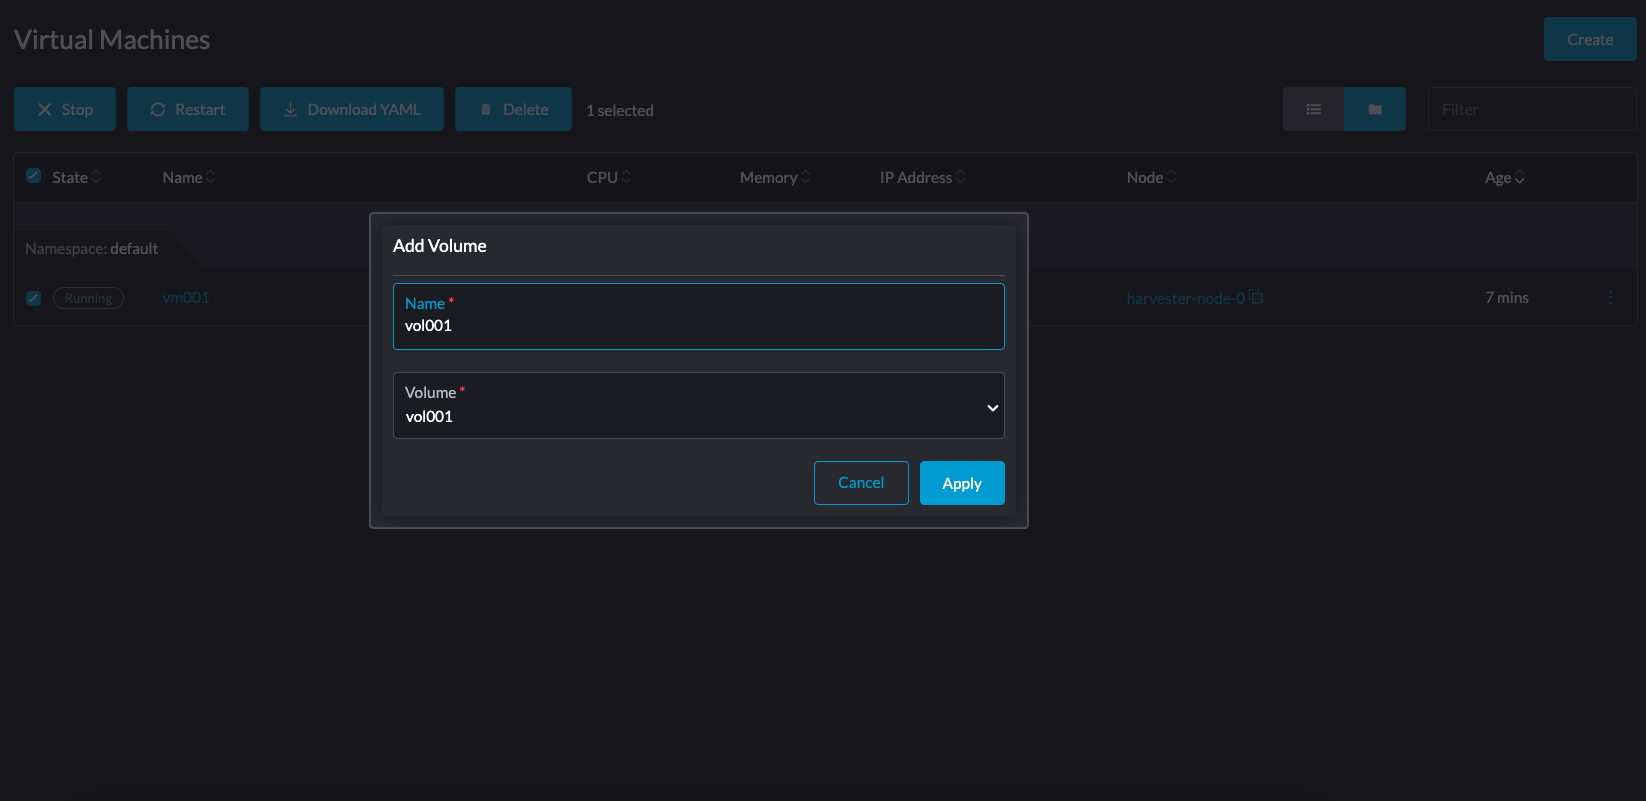
-
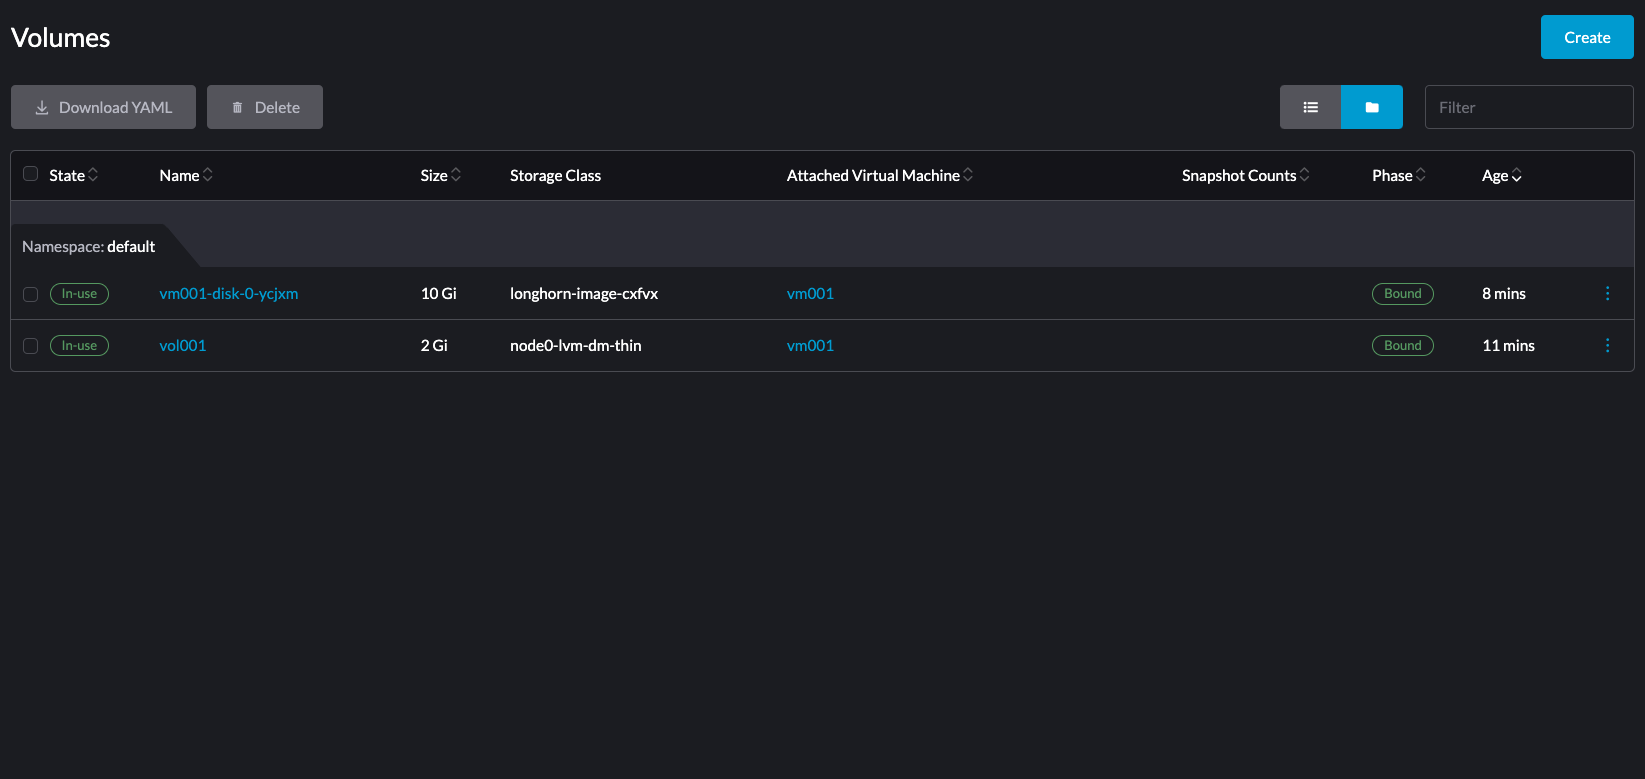
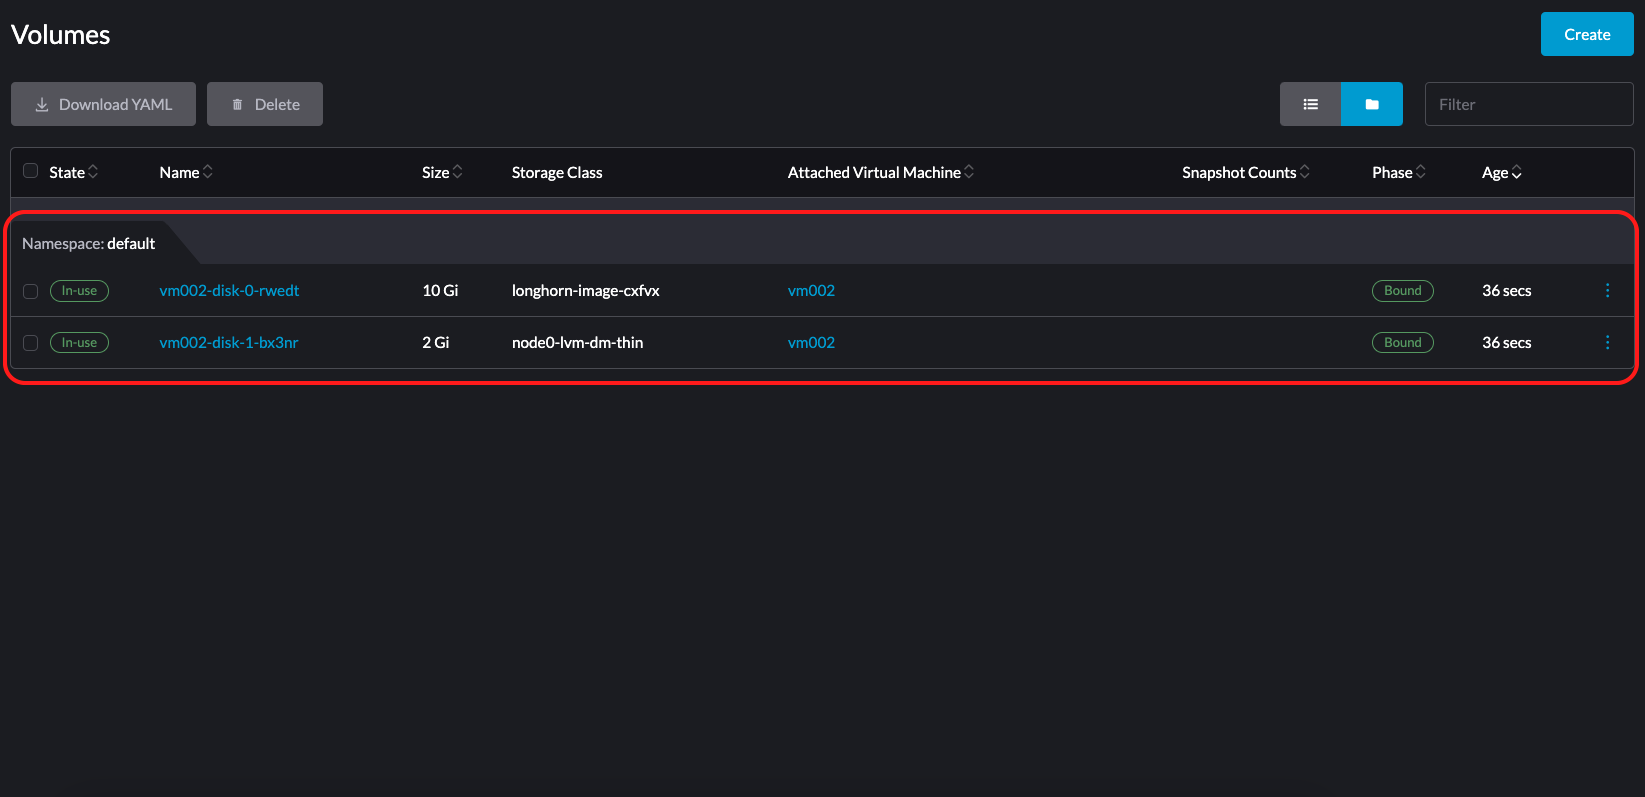
On the Volumes screen, verify that the state is In-use.
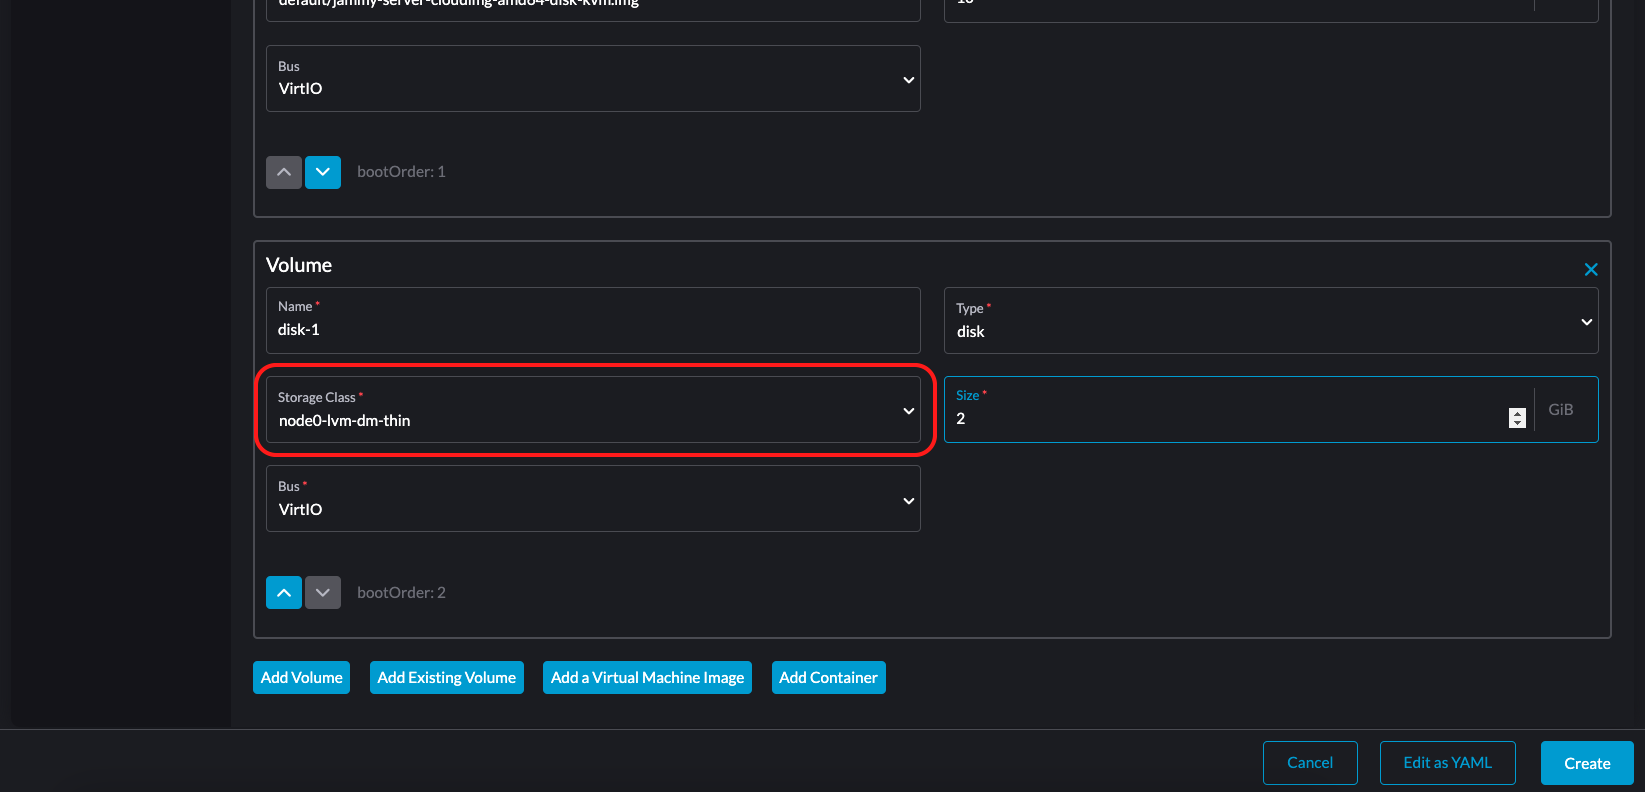
You can also create a new virtual machine with the volume of the LVM StorageClass that you created. This virtual machine will be scheduled on the target node with local storage for the volume.
Creating snapshots for an LVM Volume
-
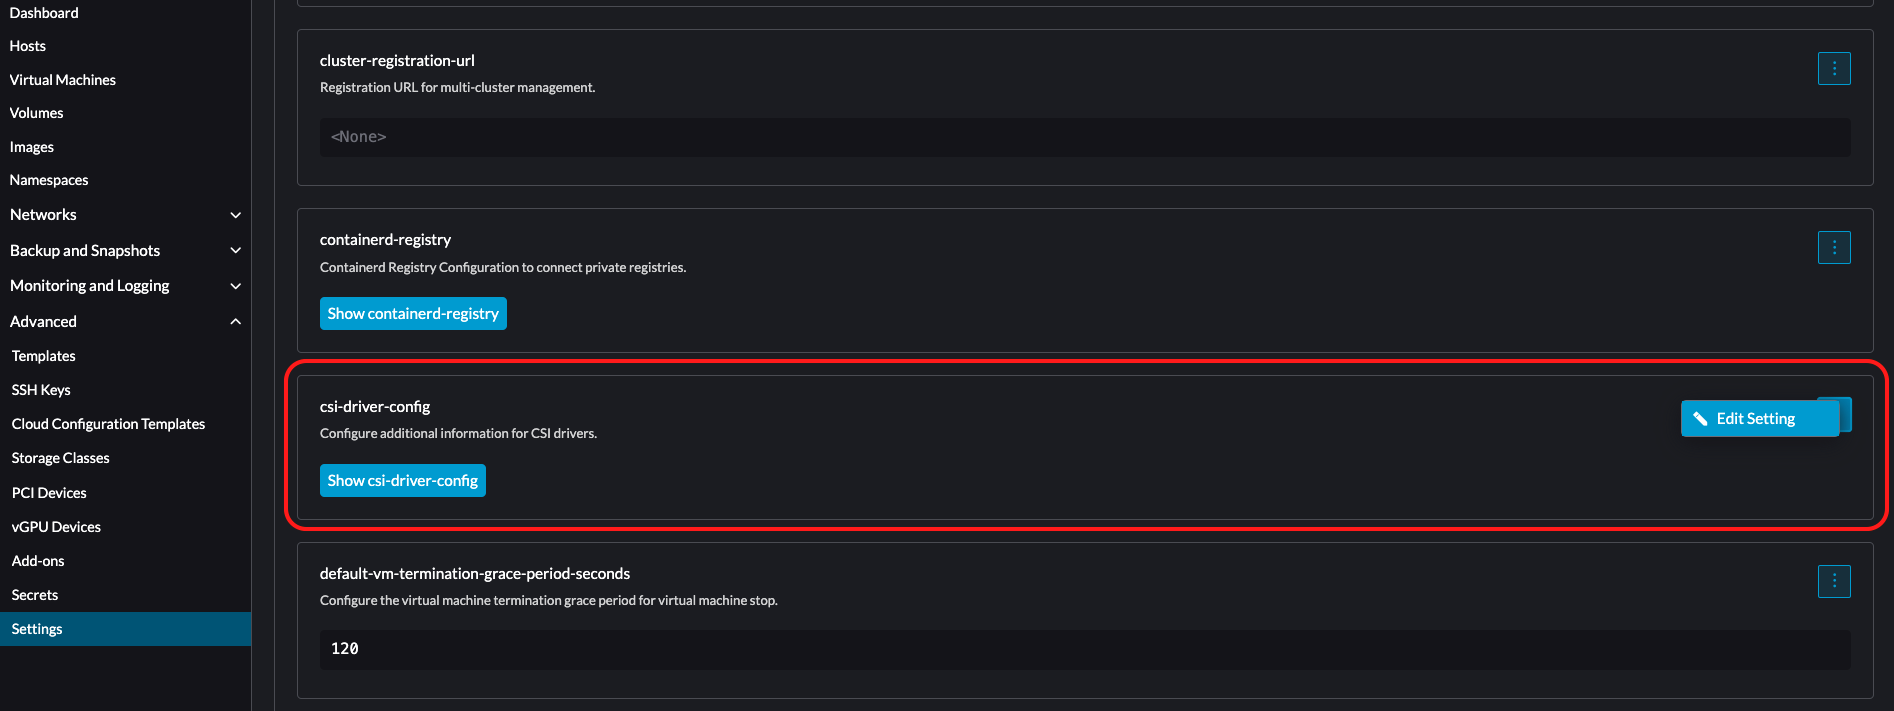
On the SUSE Virtualization UI, go to the Settings screen.
-
In the csi-driver-config section, select ⋮ → Edit Setting.
-
Add an entry with the following settings:
-
Provisioner: Select lvm.driver.harvesterhci.io.
-
Volume Snapshot Class Name: Select lvm-snapshot.
-
-
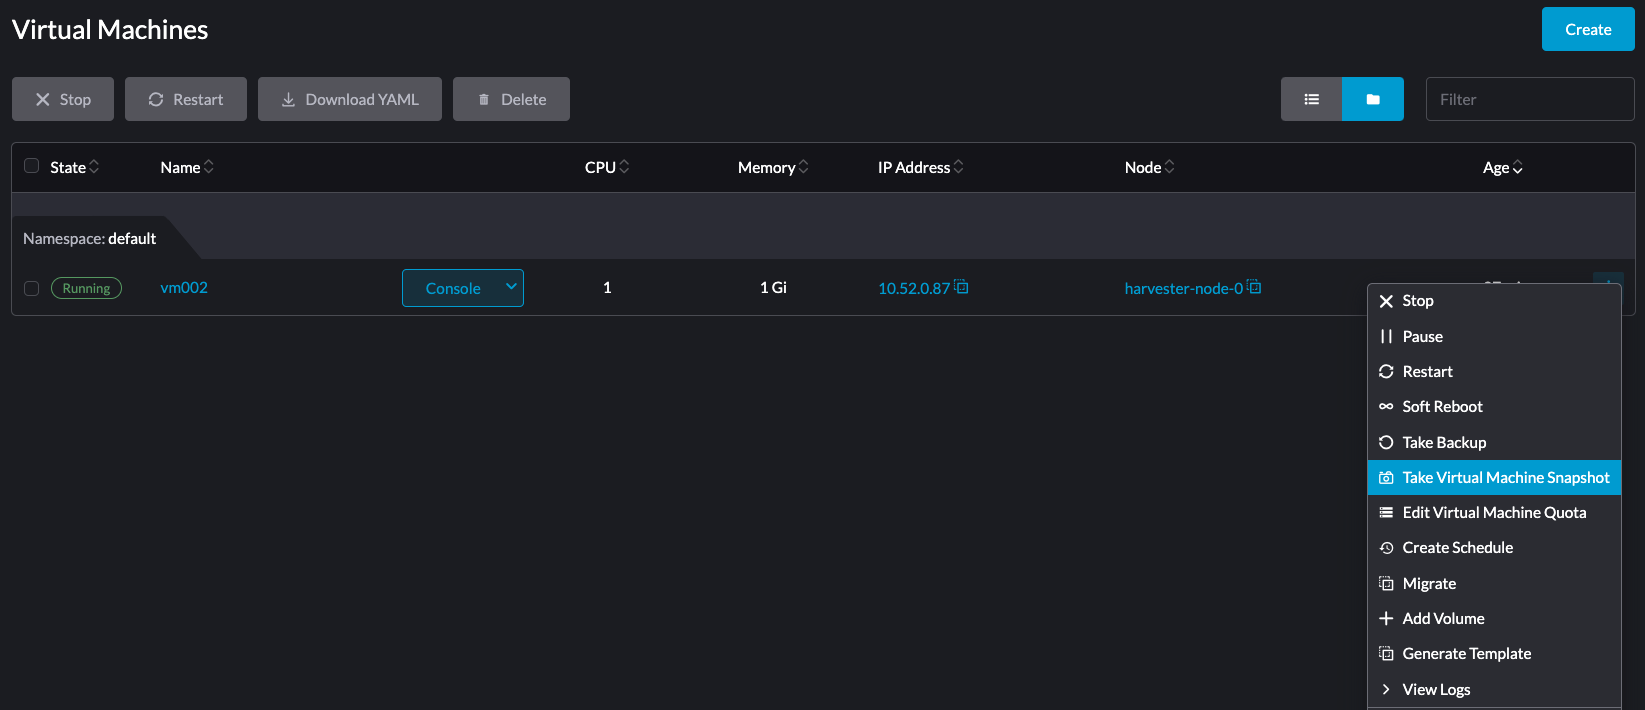
On the Virtual Machines screen, select the target virtual machine, and then select ⋮ → Take Virtual Machine Snapshot.
Example:
-
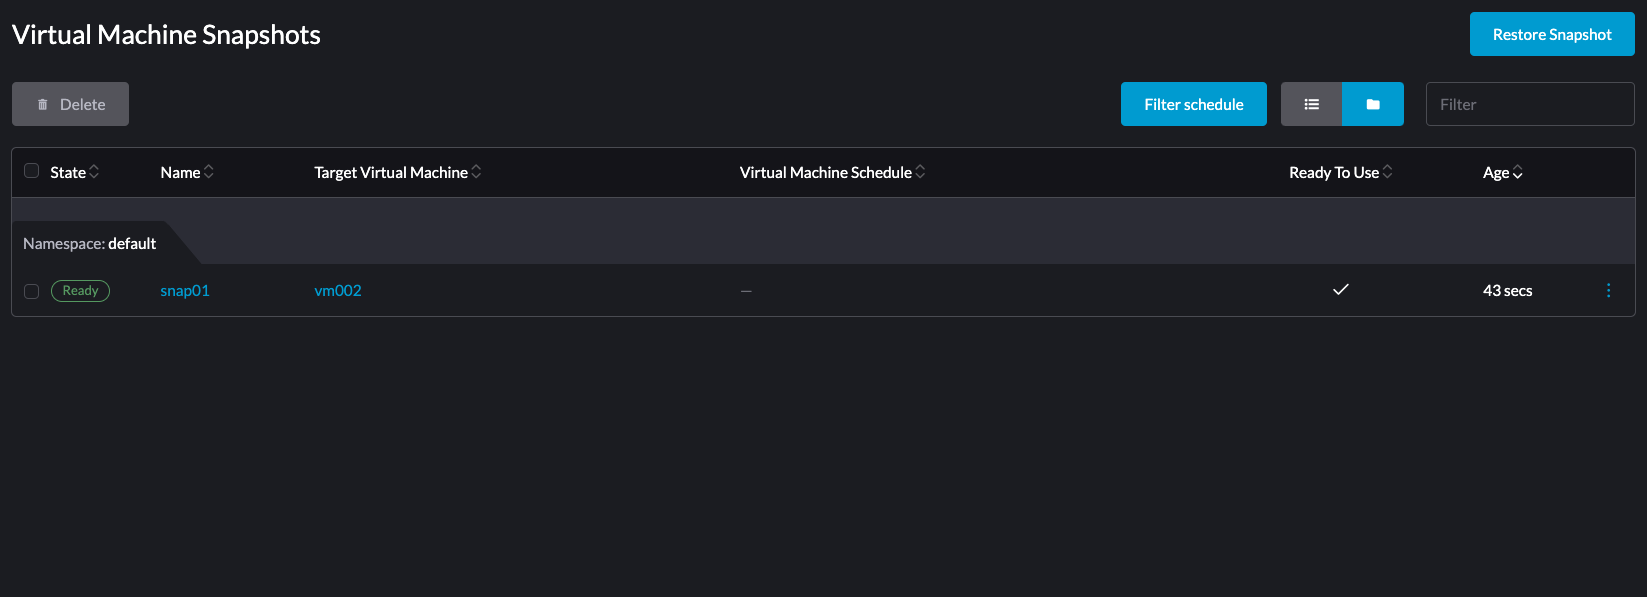
On the Virtual Machine Snapshots screen, verify that snapshot is ready to use.
Monitoring and Workload Planning
Monitor each thin pool directly on the node hosting its volume group. Run the following command to display data and metadata usage, read-only status, and health attributes:
sudo lvs -a <volume-group> \
  -o lv_name,lv_attr,data_percent,metadata_percent
Monitoring Metrics and Volume Attributes
The command’s output includes the following key fields:
-
Data%(-o data_percent): Percentage of data LV space currently used by thin volumes. -
Meta%(-o metadata_percent): Percentage of metadata LV space currently used by thedm_thin_poolkernel module. -
lv_attr: 10-character status string. For thin pools, inspect the following bit positions:-
Second character (write permissions):
-
w: The logical volume is writable. -
r: The logical volume is read-only.
-
-
Ninth character (thin-pool health):
-
F: The thin pool has failed. -
D: The thin pool has exhausted its available data space. -
M: The thin-pool metadata is in read-only mode.
-
-
Monitor Data% and Meta%, and take corrective action before either value reaches 100%. Exhausting thin-pool data or metadata can stall or fail I/O operations and block volume and snapshot creation. These behaviors are inherent to Linux device-mapper thin provisioning. For more information, see the LVM thin provisioning man page.
Workload Planning and Concurrency
Avoid overwhelming LVM storage with concurrent I/O-intensive workloads or simultaneous volume lifecycle operations (such as provisioning, cloning, snapshotting, and restoring). High resource contention increases latency and can cause application timeouts.
Optimal concurrency depends on your underlying storage hardware and workload I/O profiles. Validate your target concurrency levels through representative benchmark testing before deploying to production.